
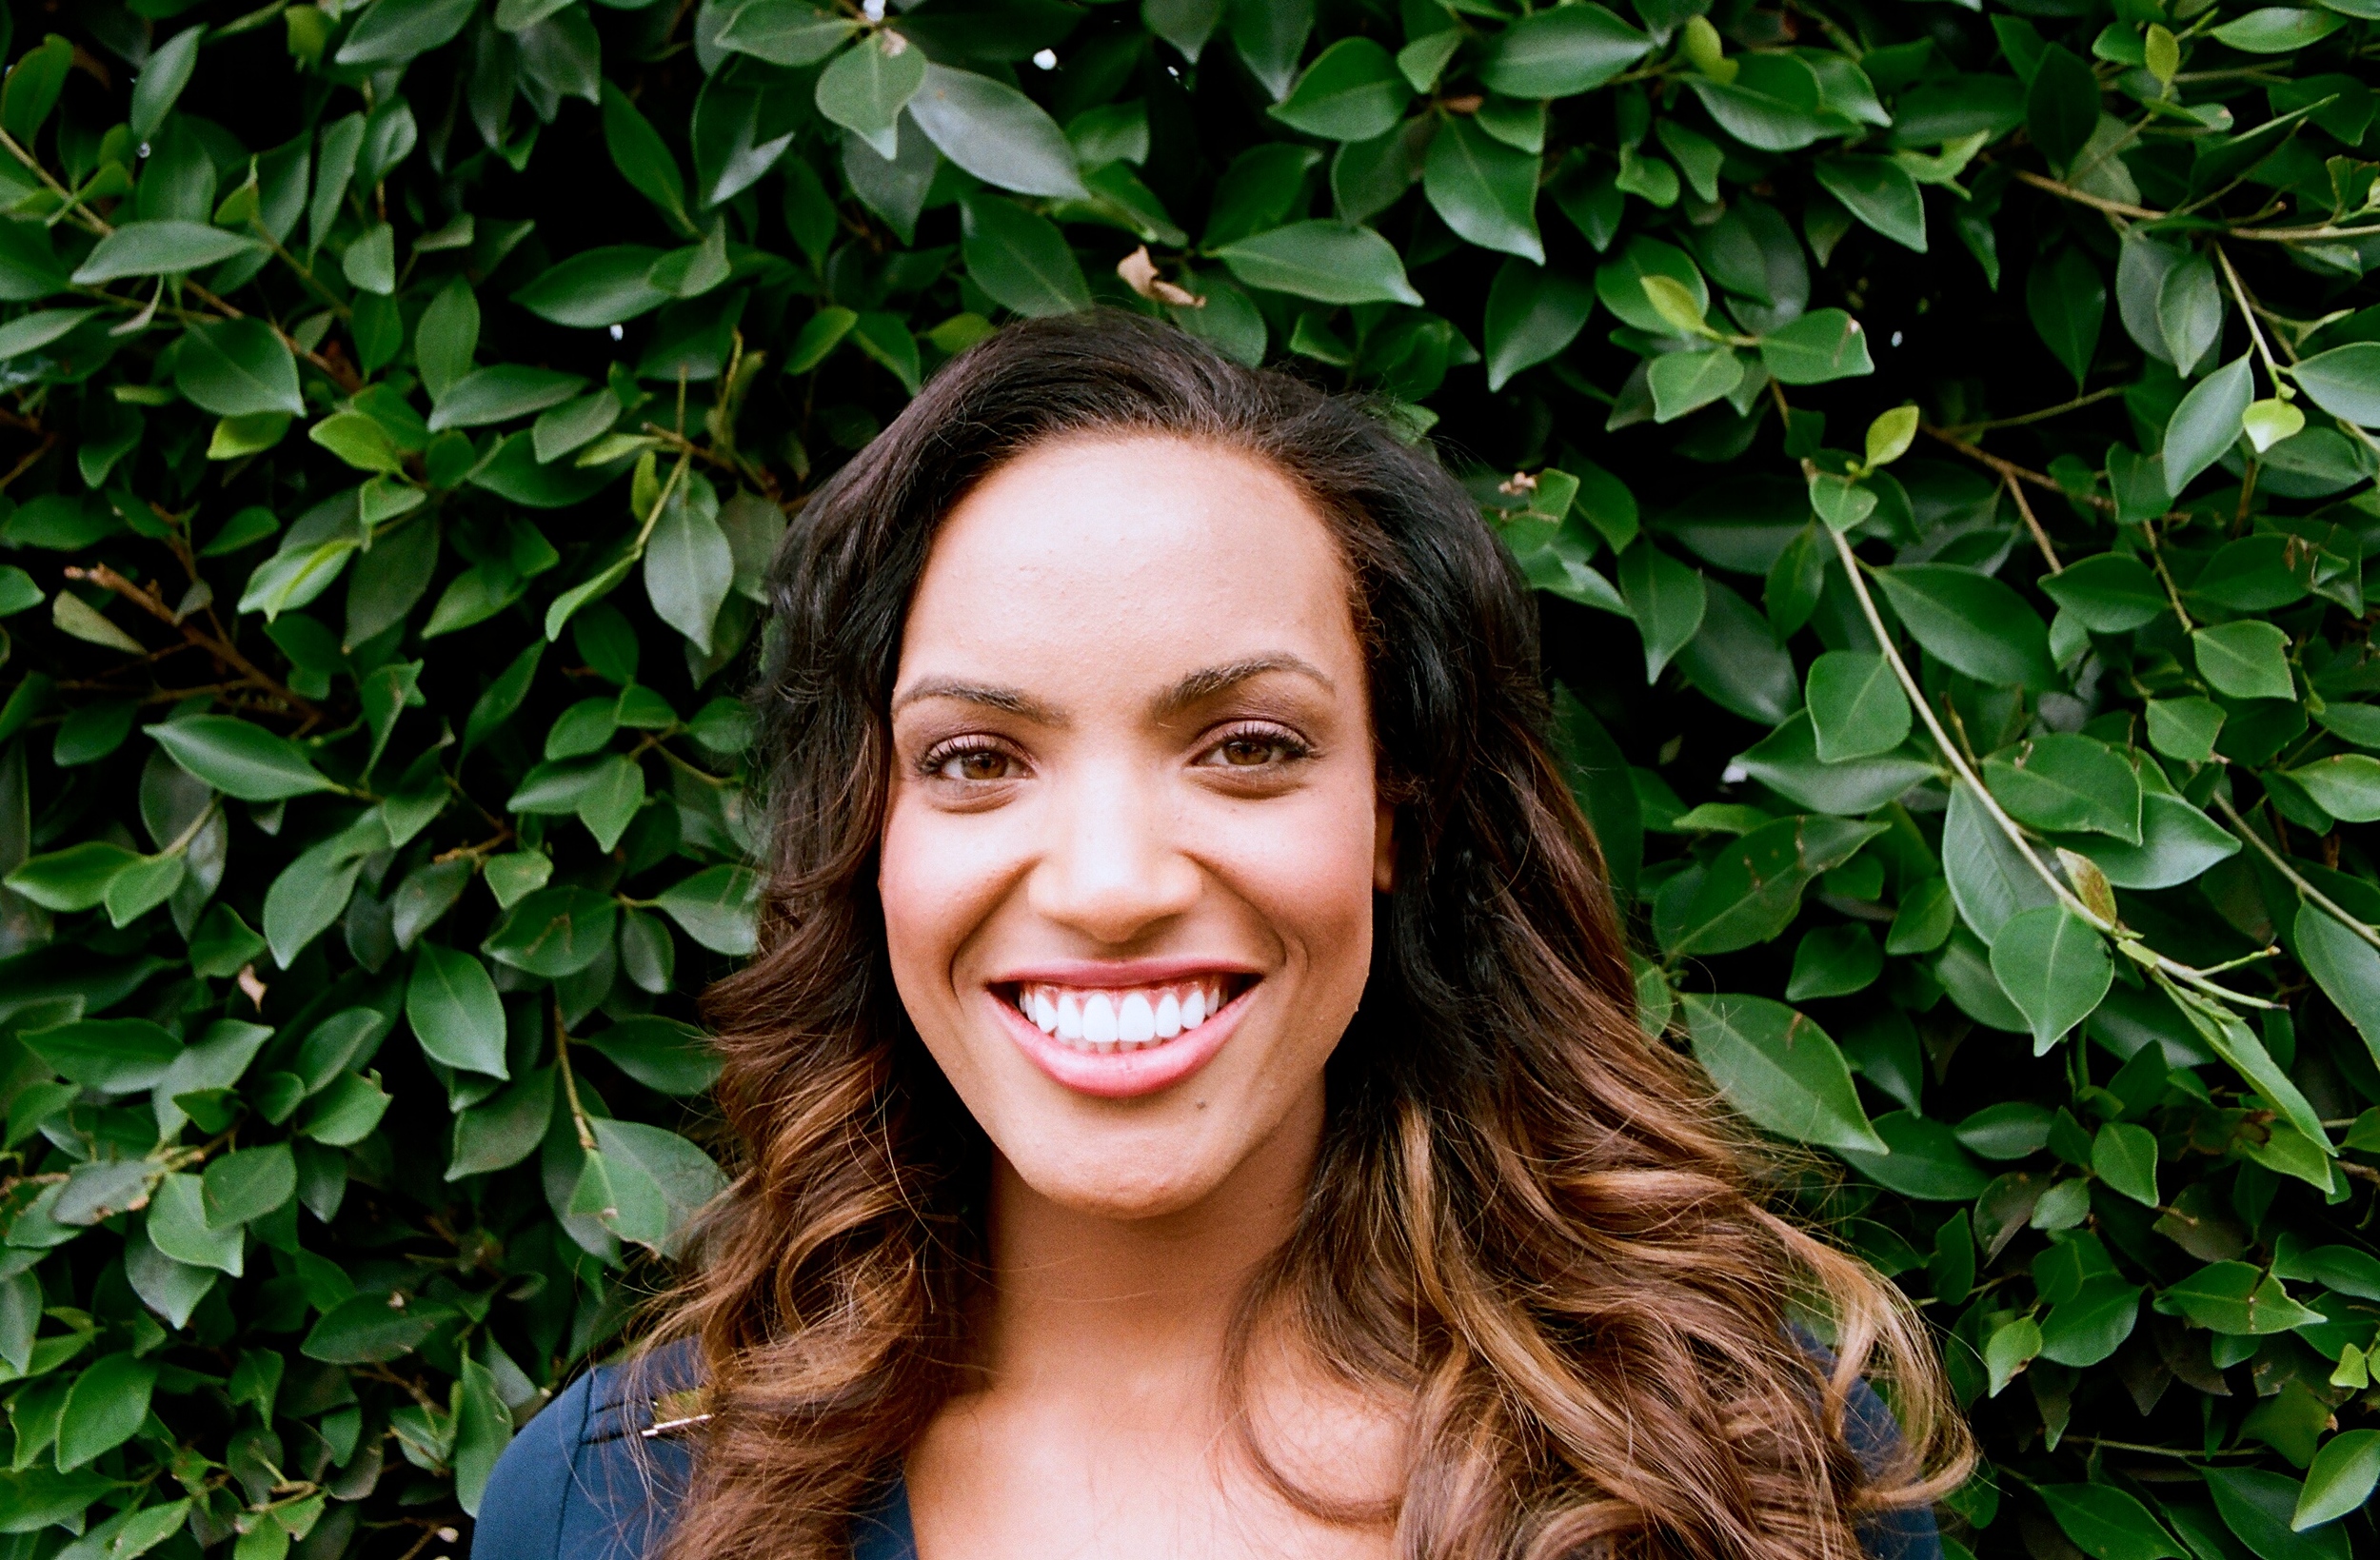
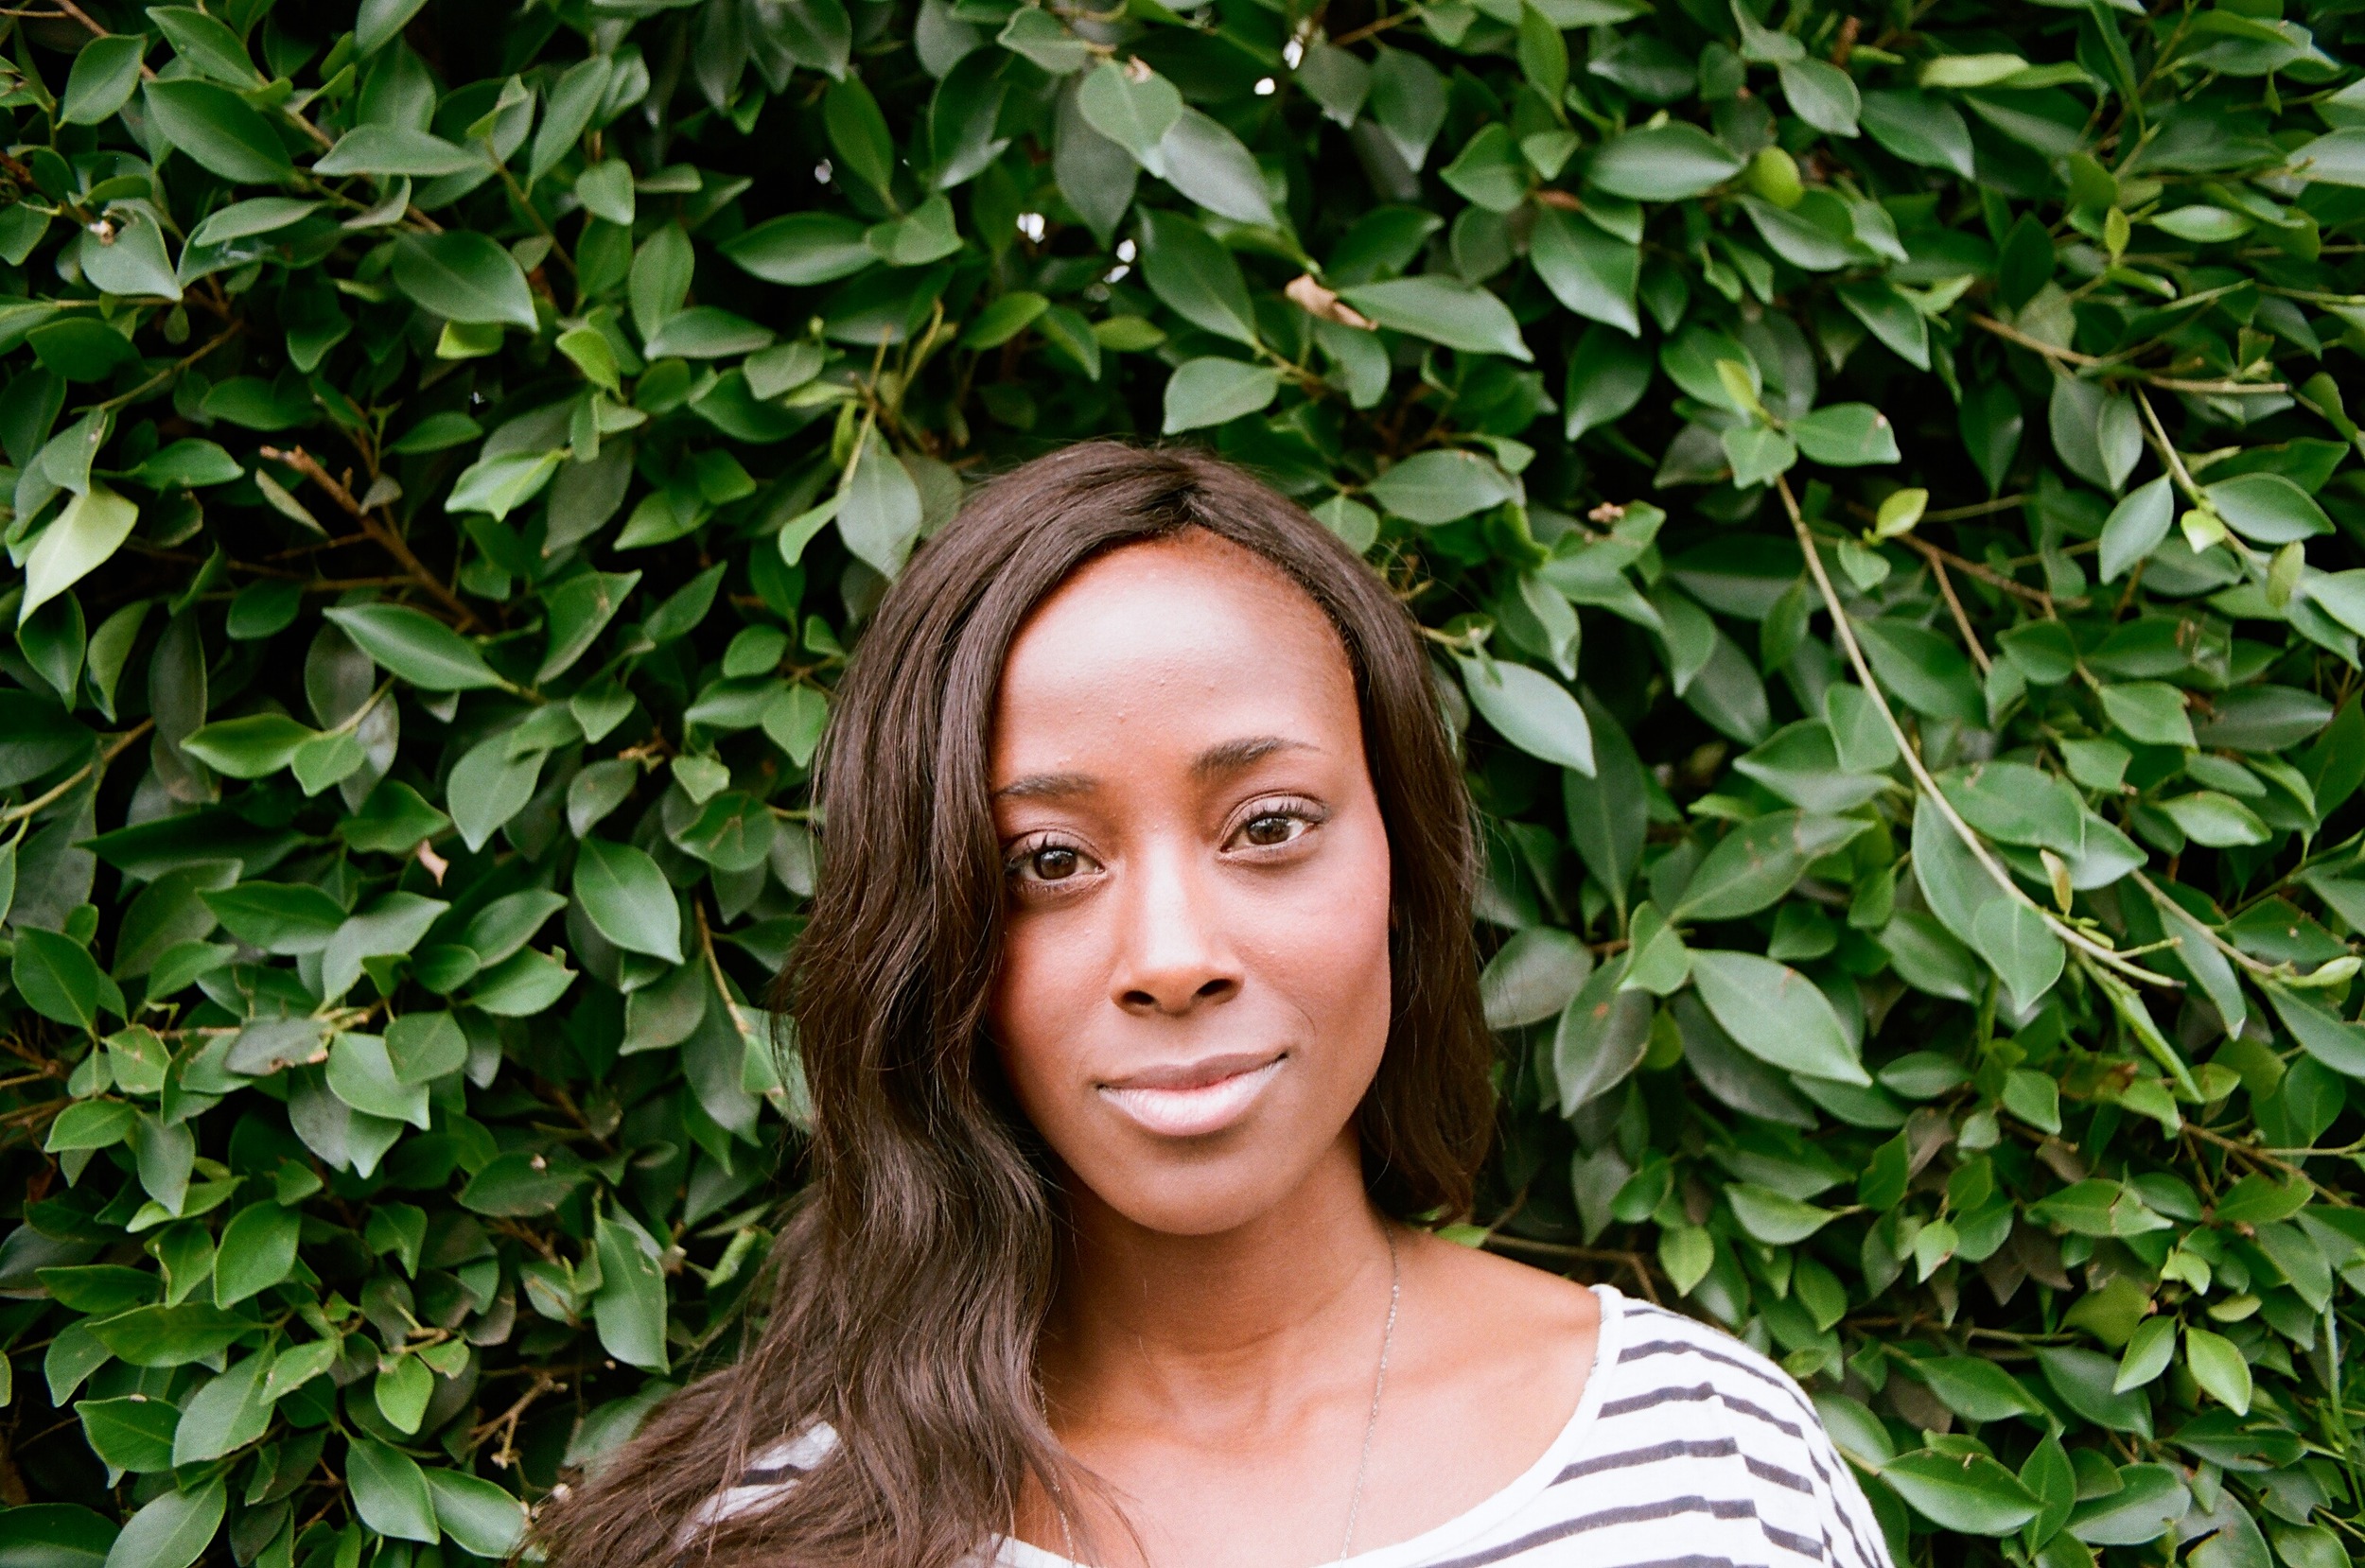
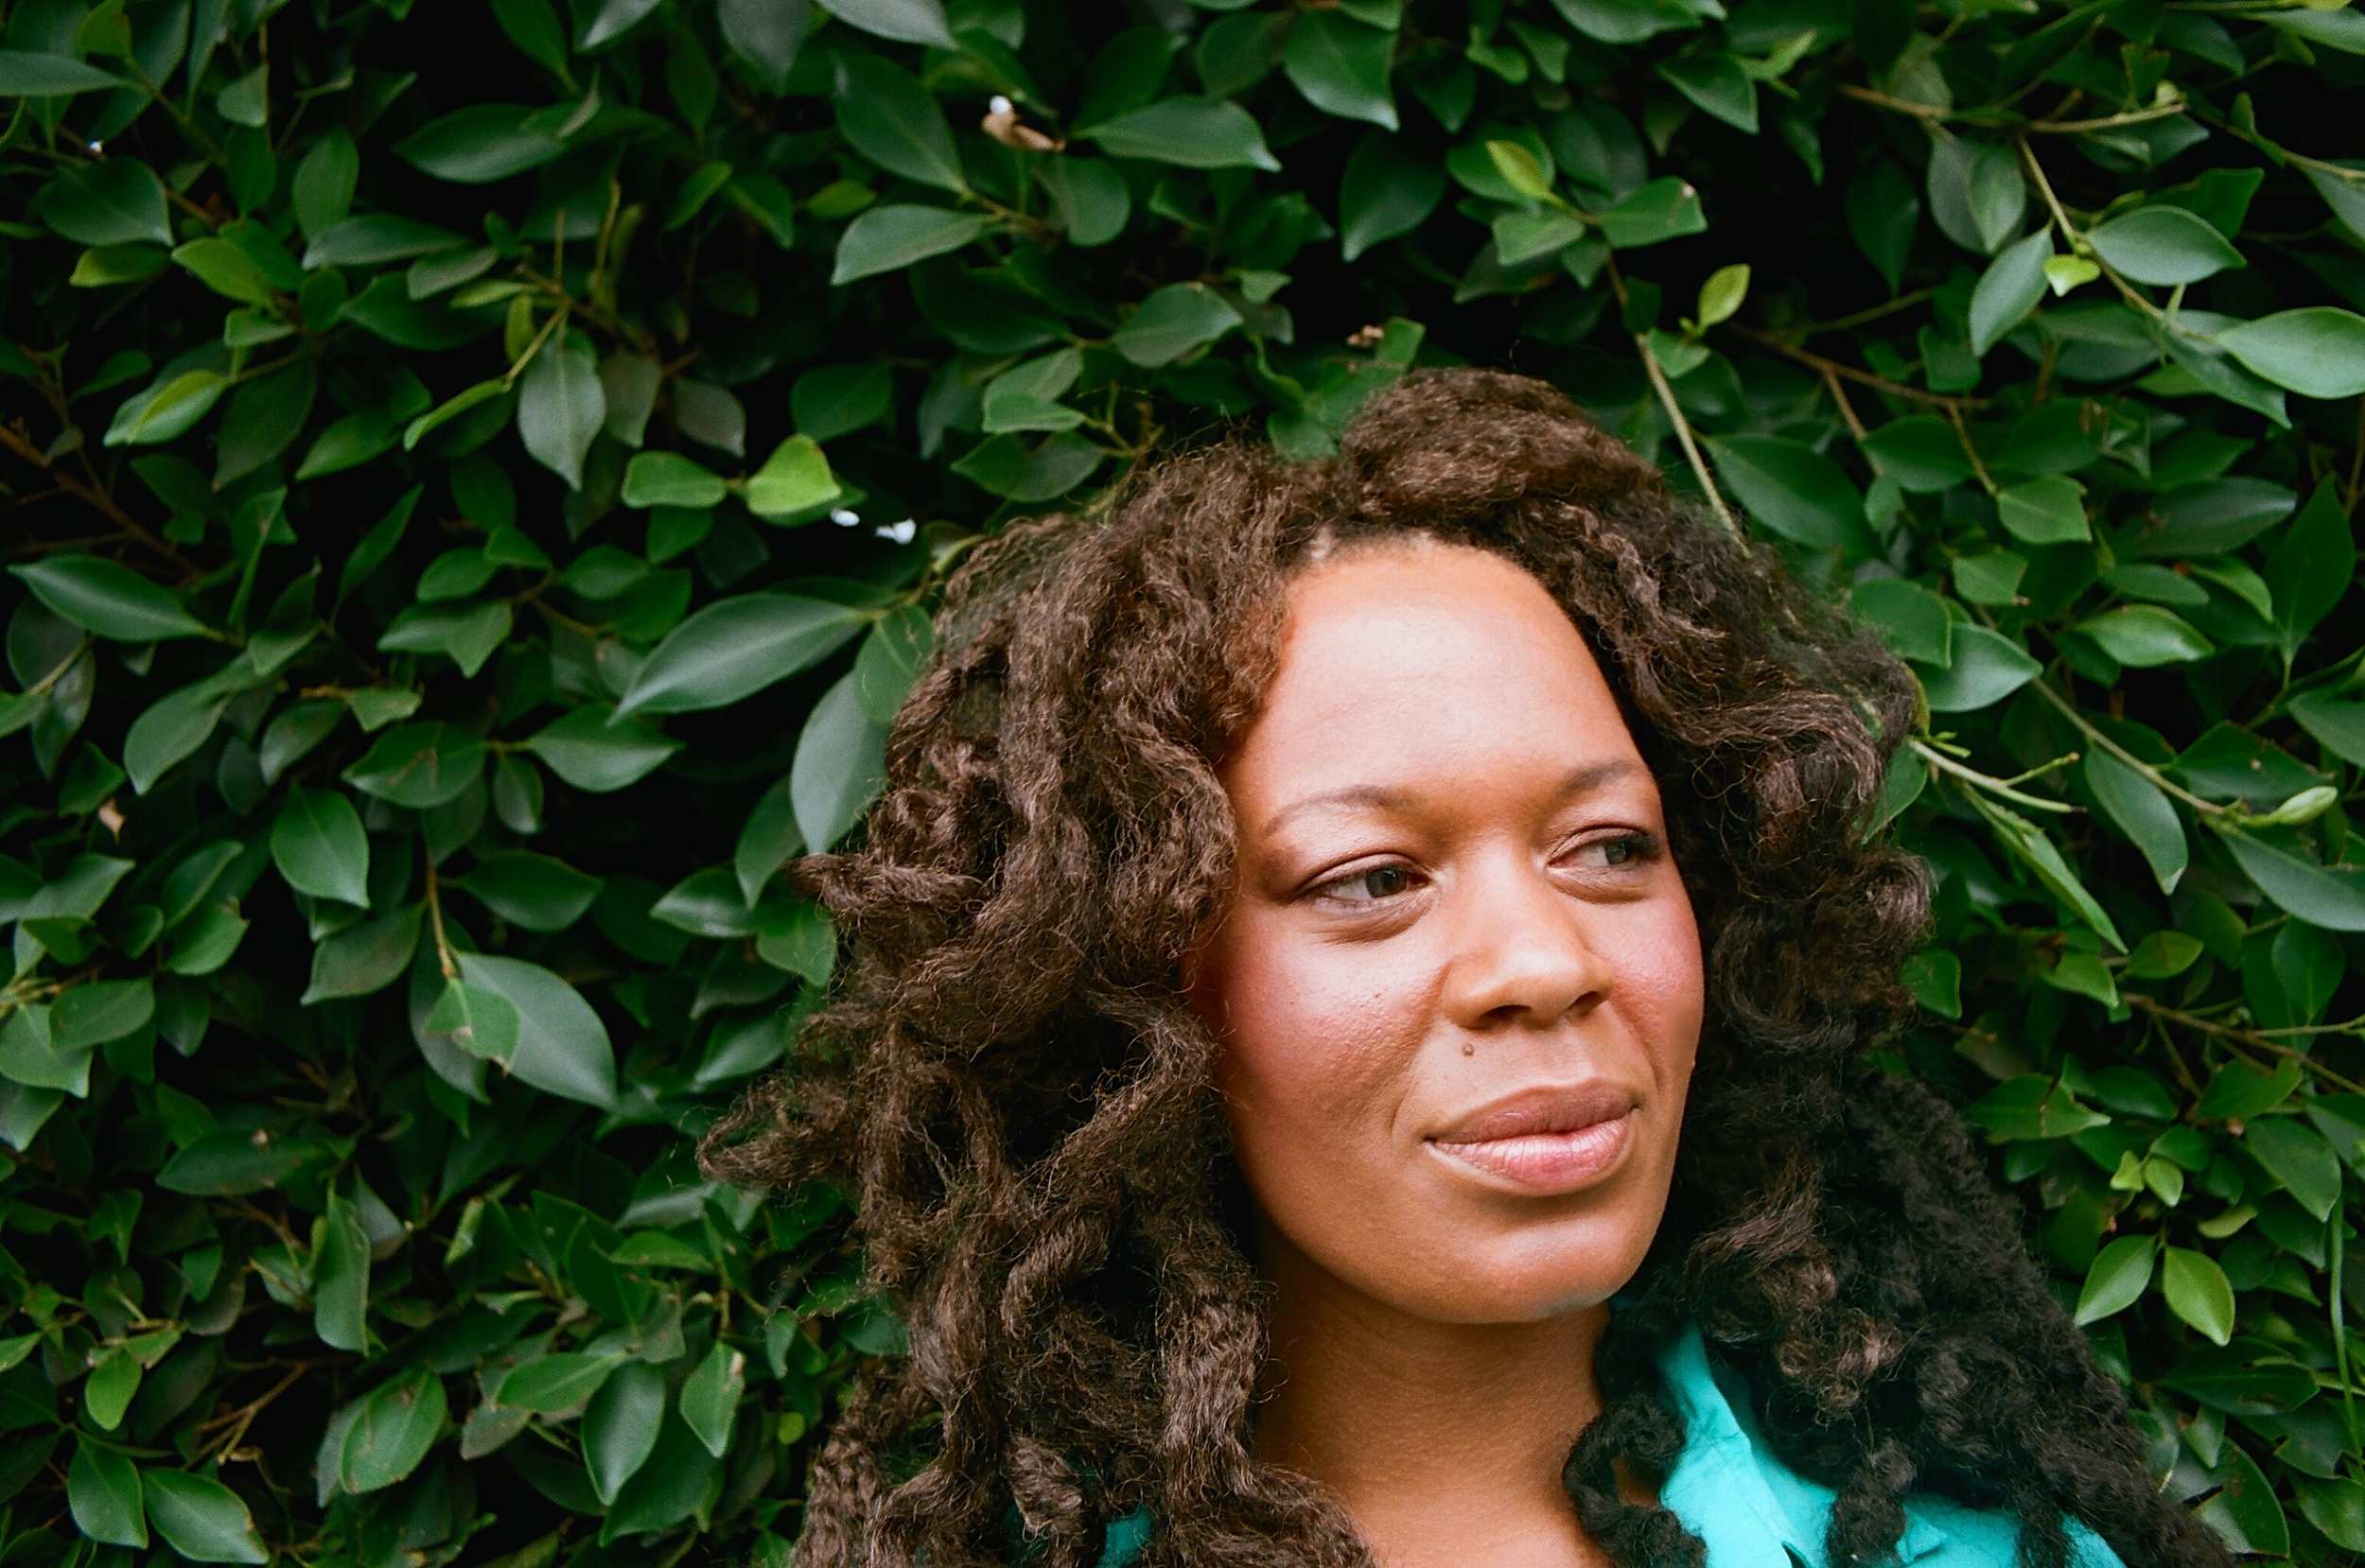
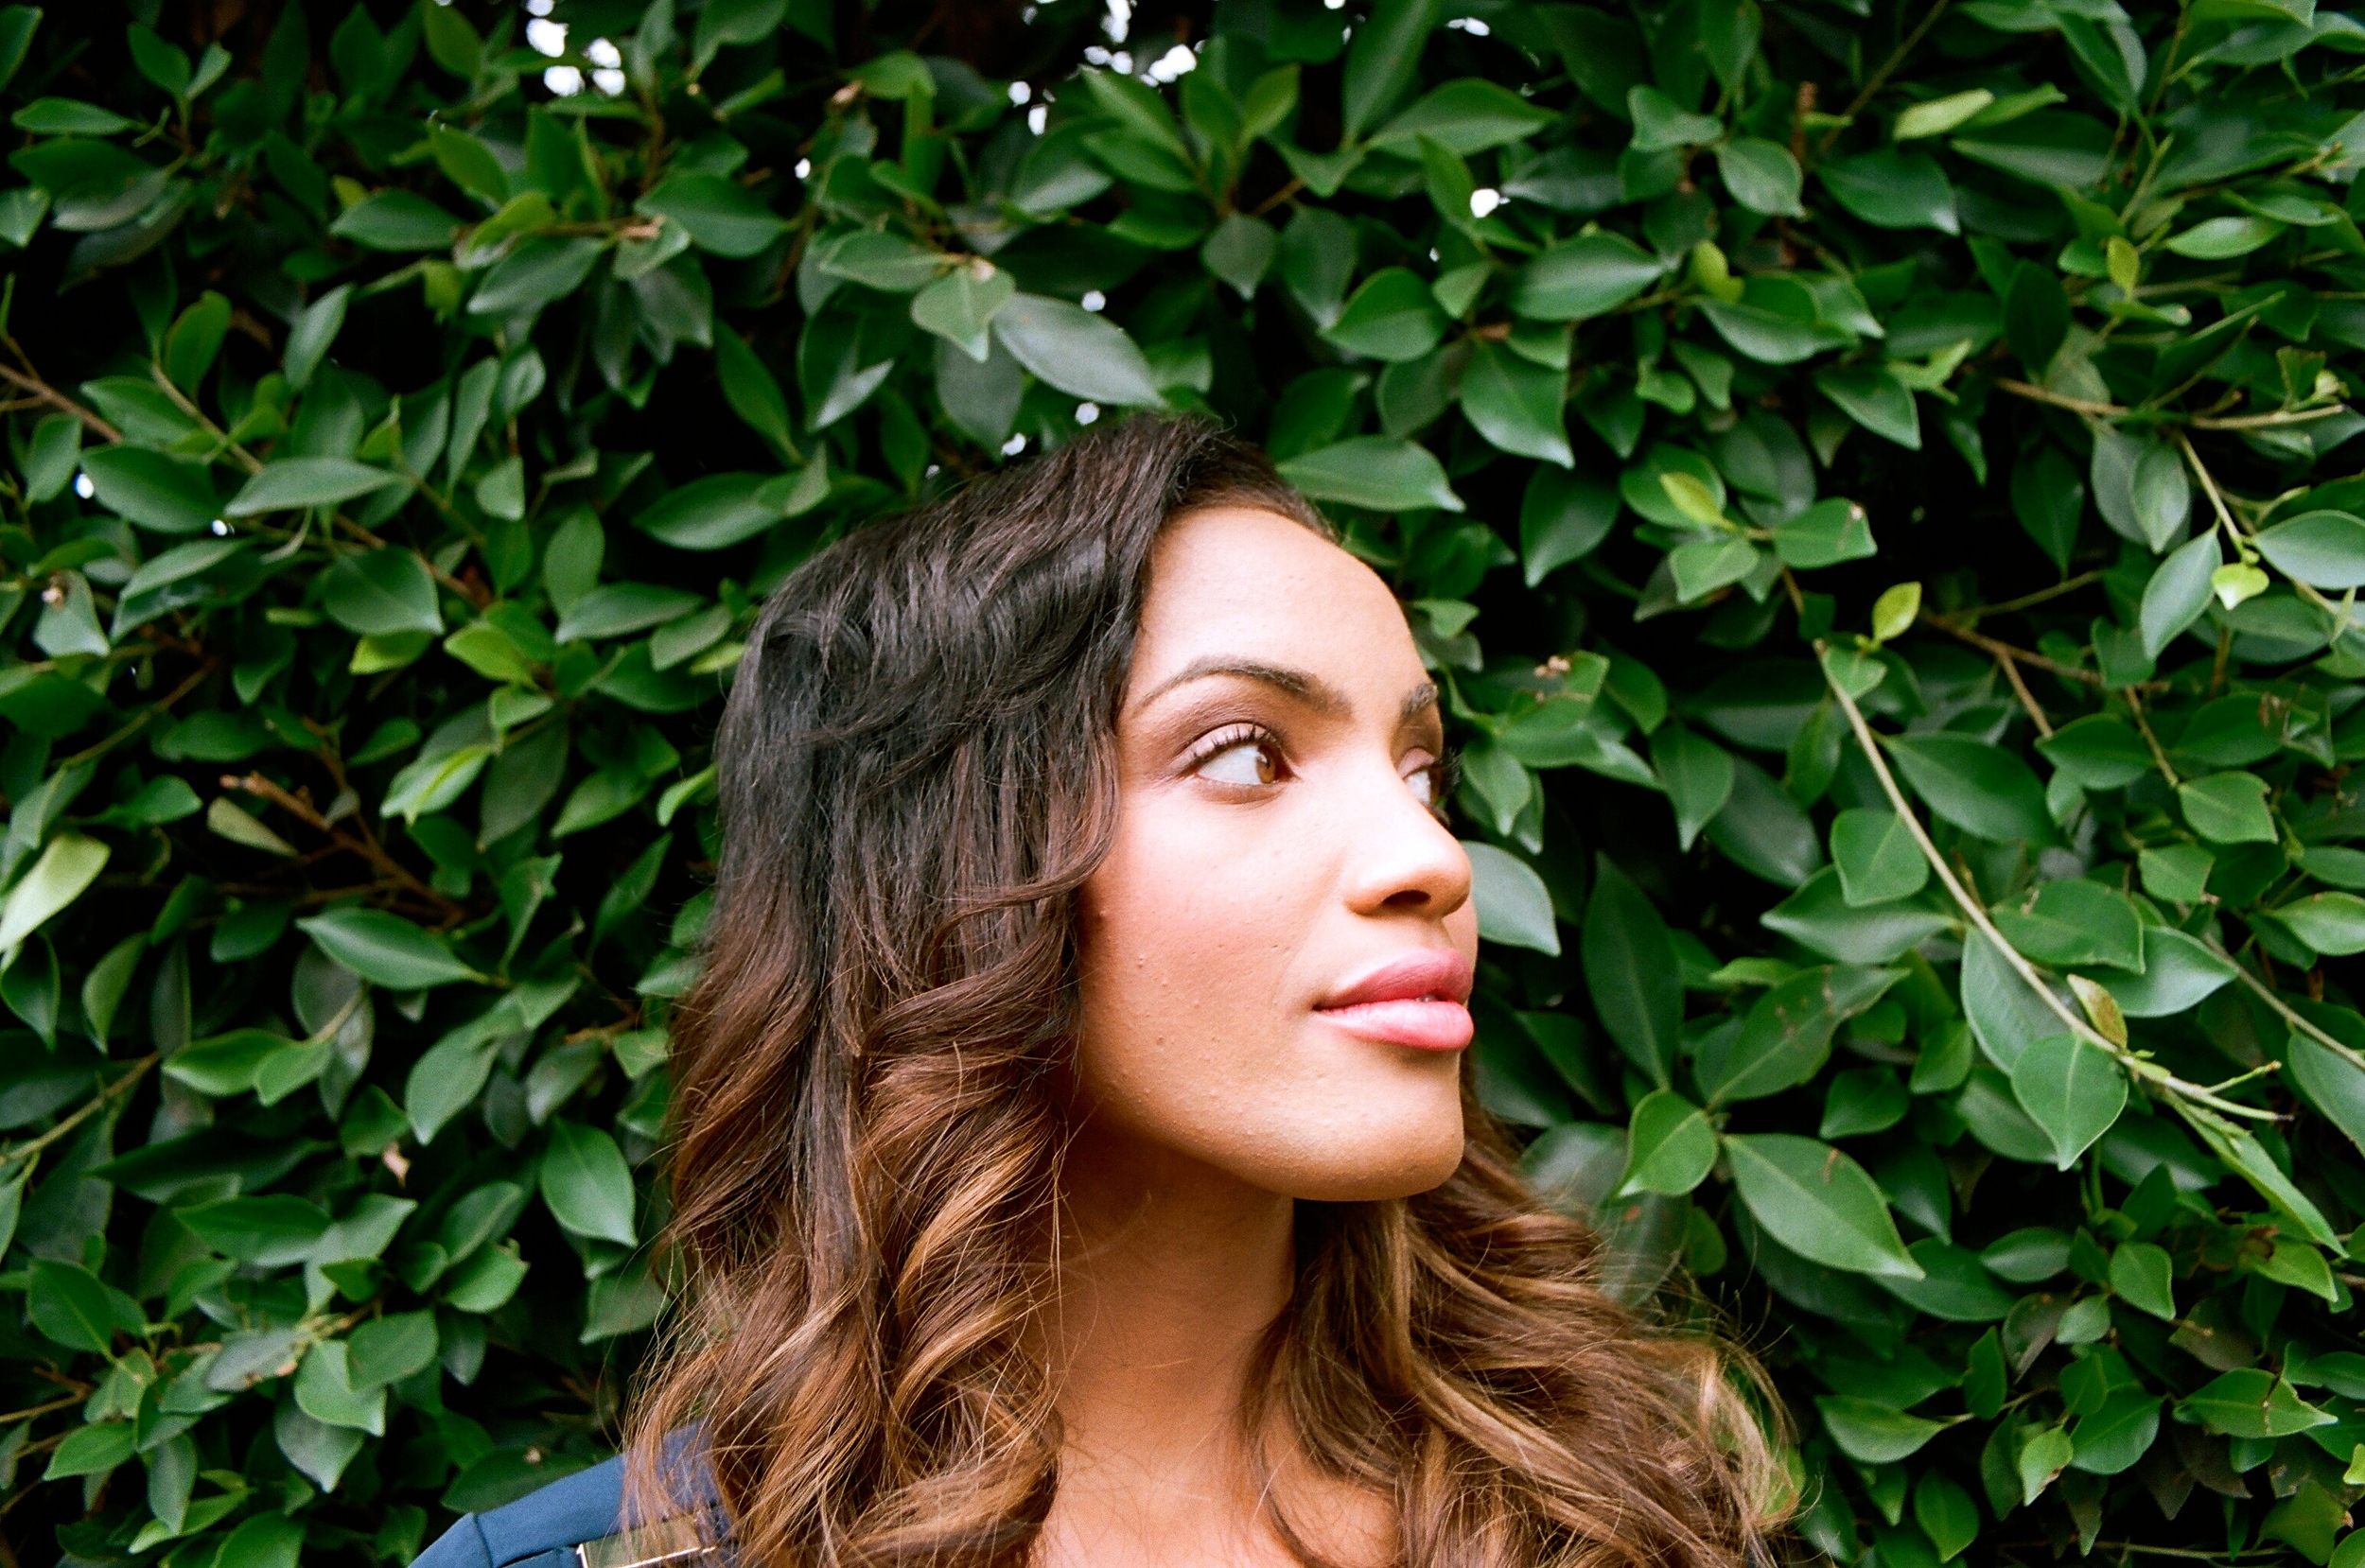
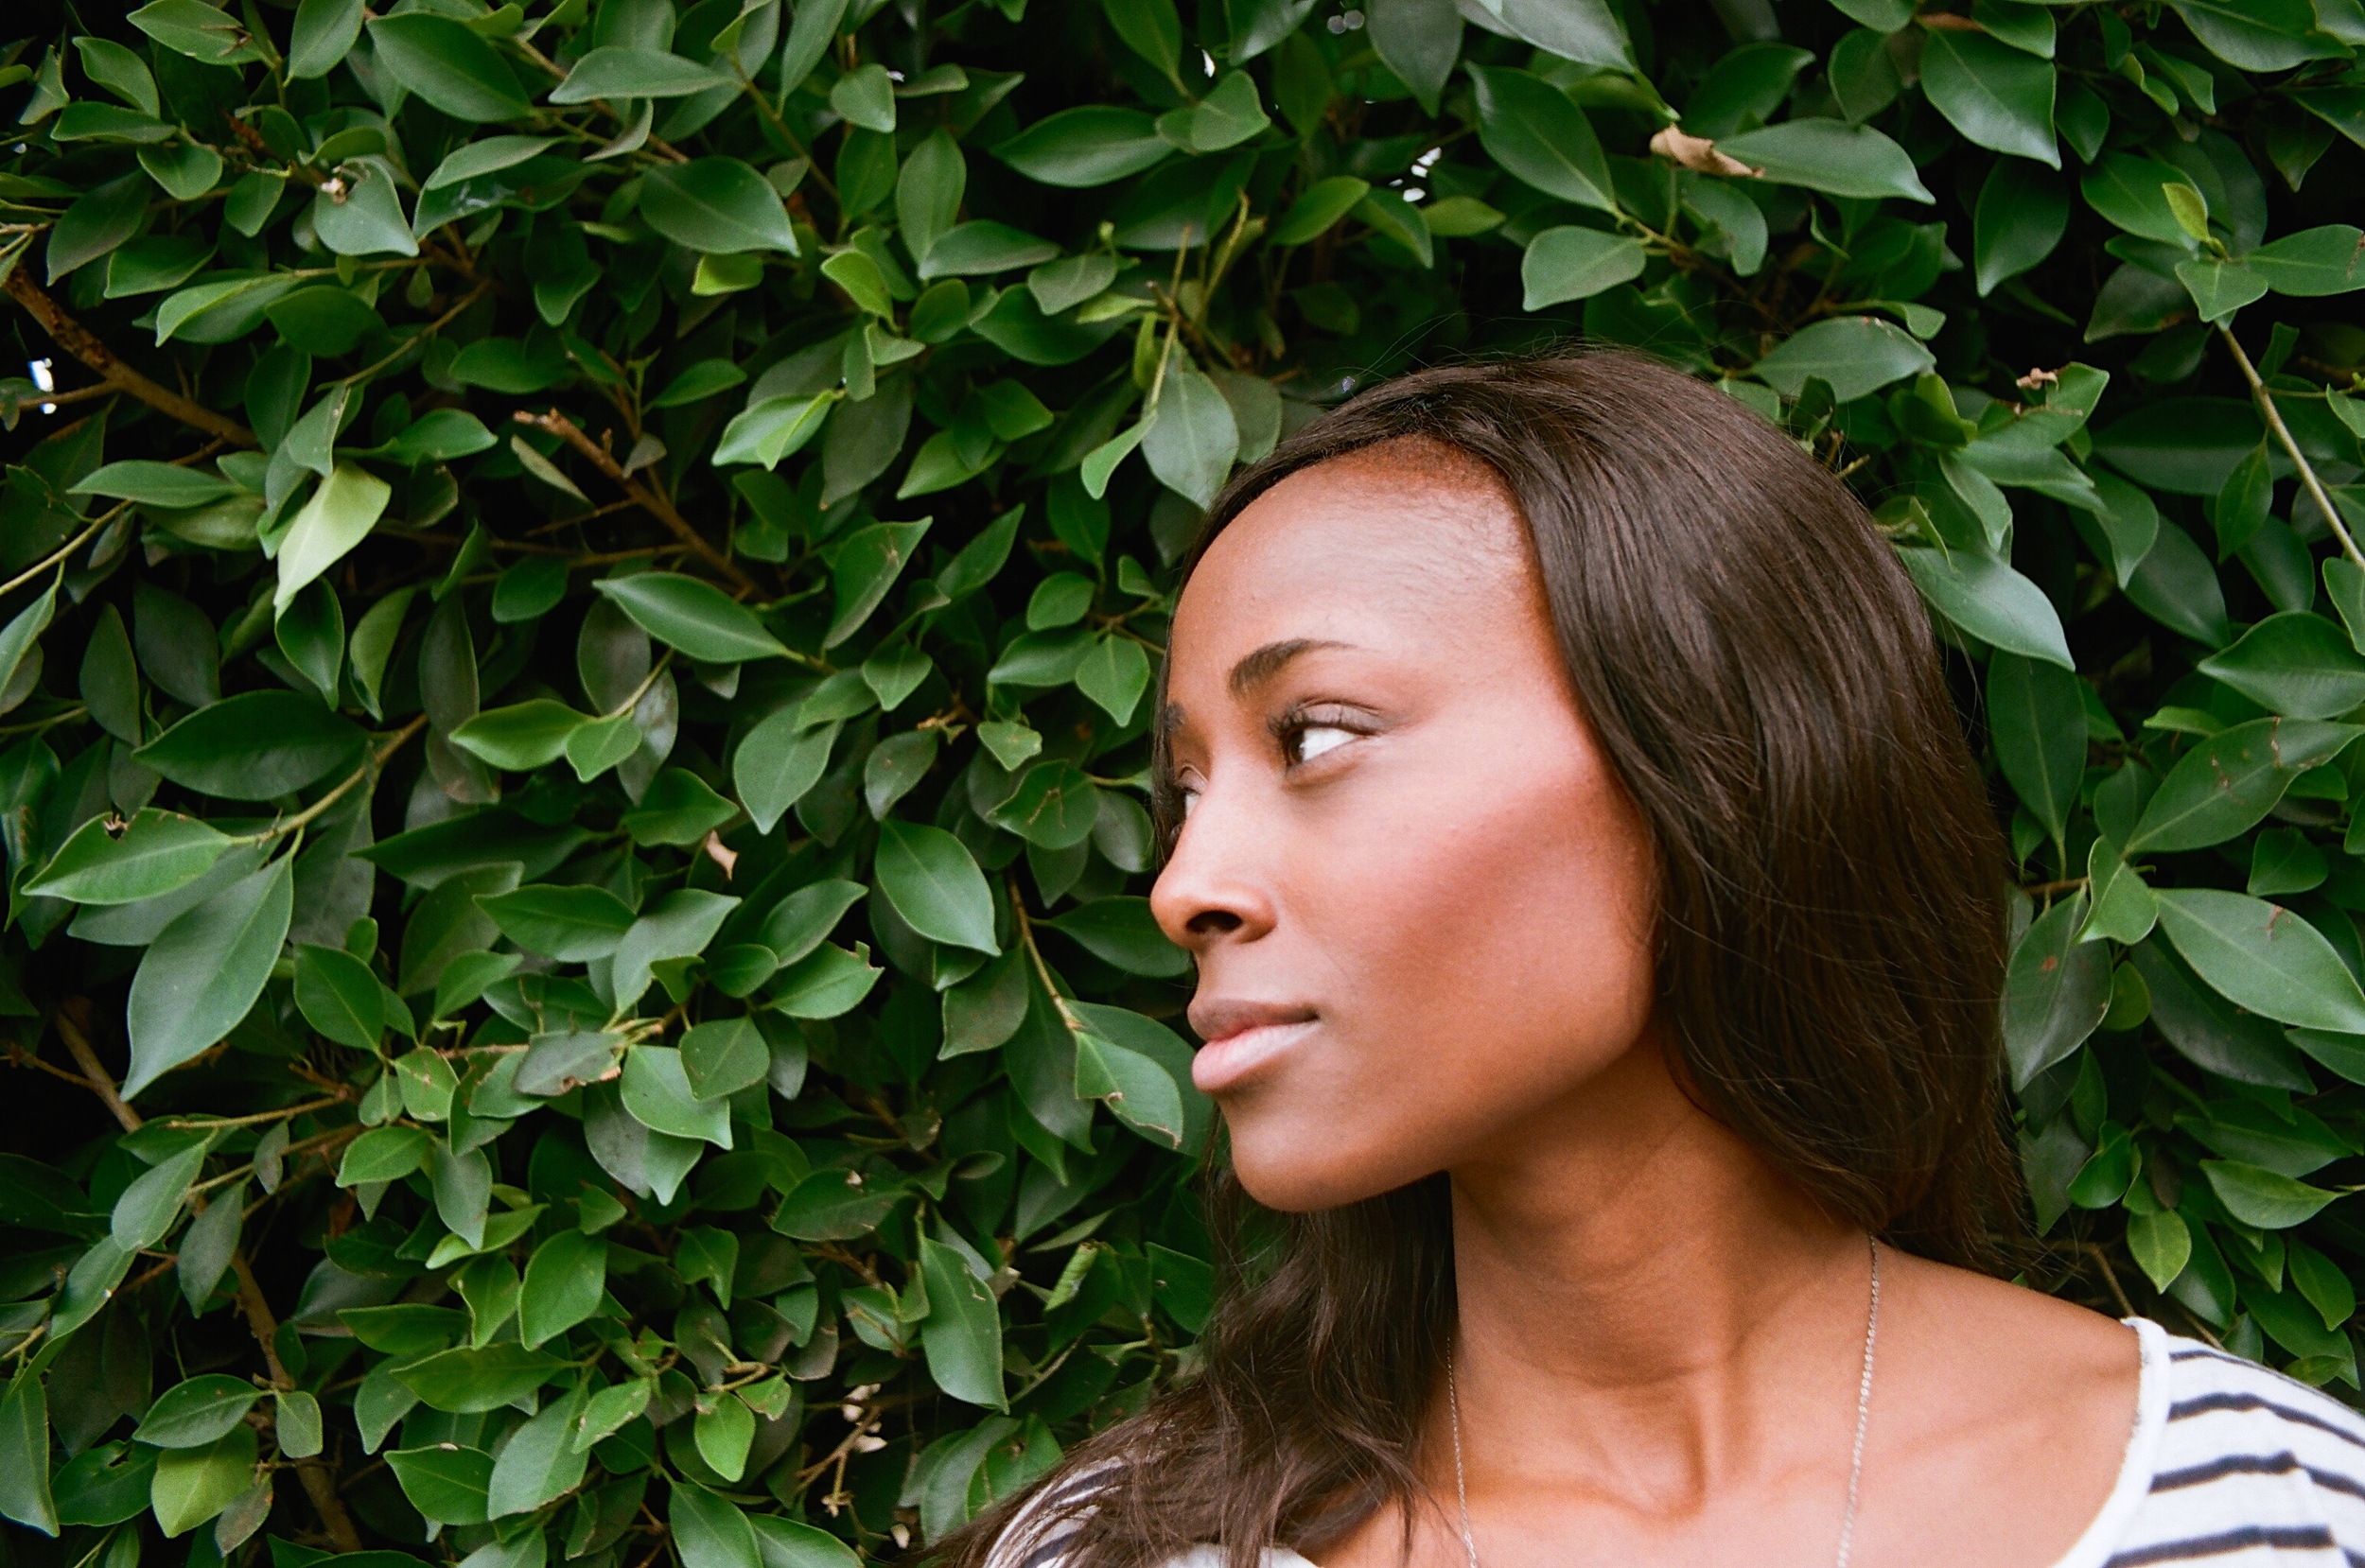
A couple weekends ago I did makeup for a promotion for an independent film. The focus was natural, glowing skin and I really wanted the 7 actresses to look like themselves and really ethereal on camera.
I've picked up quite a few tips over the years on my own shoots and doing makeup for others', and I thought I'd share some thoughts on makeup for camera, specifically natural makeup! Warning: if you're not interested in makeup, this probably isn't the post for you!
SKIN
The first thing that is so, so important is prepping the skin. The makeup will never sit right or endure a long shoot if the skin isn't moisturized; moisturizer is the best primer out there. If your skin is oily, you'll really want to tone and moisturize with something light. But don't skip moisturizer! One of the life-changing things I've learned about skincare is if you think your skin is oily enough and doesn't need moisture, you're actually going to get much more oily throughout the day because your skin is producing more sebum to compensate for the lack of moisture. So, no matter what, moisturize! Same goes for dry skin, although you may want to go with a thicker cream in the winter months--I love Alba's day/night creams. Some of the girls showed up with a light base which I touched up, but for the majority of the actresses, I prepped the skin with a cleansing wipe or a little Clinique Take the Day Off makeup remover to tone and cleanse the skin. I then followed up with Clinique's Dramatically Different Moisturizing Gel. I really like Murad's balancing line as well, but nothing beats Clinique in my book! The gel is light and dewy, but is slightly tacky, acting as a primer in itself to help the makeup adhere to the skin. Any dry under-eyes got a little dab of Murad's Hydro-dynamic Ultimate Moisture for Eyes.
FOUNDATION & CONCEALER
For foundation, I really prefer a mineral one for long shooting days because it lasts longer and looks virtually undetectable on the skin, while still balancing everything out. I really like minerals as well because they add a touch of radiance to the complexion that's not shiny; it just looks like you're glowing from within! Laura Mercier's mineral foundation is the creme-de-la-creme, but you know what? I've tried a million mineral foundations and I actually prefer the finish and lasting power of e.l.f.'s Personal Blend Foundation. The neat thing about these guys is that there's 3 different ones to choose from--light, medium and dark--and each one has 4 shades that you can mix and match to create the perfect shade for each individual. If you have trouble finding your exact shade in stores or do makeup on other people, I can't recommend these foundations enough! Also, you can't beat that price.
Before applying mineral foundation, you want to conceal first. My golden rule is that powder goes over cream/liquid, and cream/liquid does not go over powder. Why? You get a streaky, smudgy, ruddy look to the skin that does not look natural or ethereal at all, kind of like when you cry after you've applied powder and it streaks your makeup. It's a very hard situation to remedy after the fact and sometimes the only cure is to take all the foundation off and start over again. Not fun! I custom-mixed a shade of concealer for each actress. Nothing to me will ever beat Nars Radiant Creamy Concealer! It is the holy grail: provides the most radiant glow, the best coverage and the most blend-able formula I've ever used. It is amazing! Equally good for beneath the eyes and on spots. It is not shiny or sparkly, so it's great on blemishes because the 'radiance' and formula just kind of air-brushes the area and doesn't call attention to imperfections. It will cover even the darkest under-eye circles and peskiest problem spots! For each girl I mixed Vanilla and Cacao to create their perfect shade, which for under eyes you want to be one shade lighter than the skin and for blemishes, the exact tone of the skin. I then buffed in the foundation on a buffing brush to create a flawless finish. Don't forget to buff around the eye area (carefully!) as well; it really brings a seamless look to the face and she won't have inverse raccoon eyes from the contrast of concealer around eyes and mineral foundation on the skin this way! Keep buffing and buffing until the foundation evens the skin and looks undetectable.
EYES
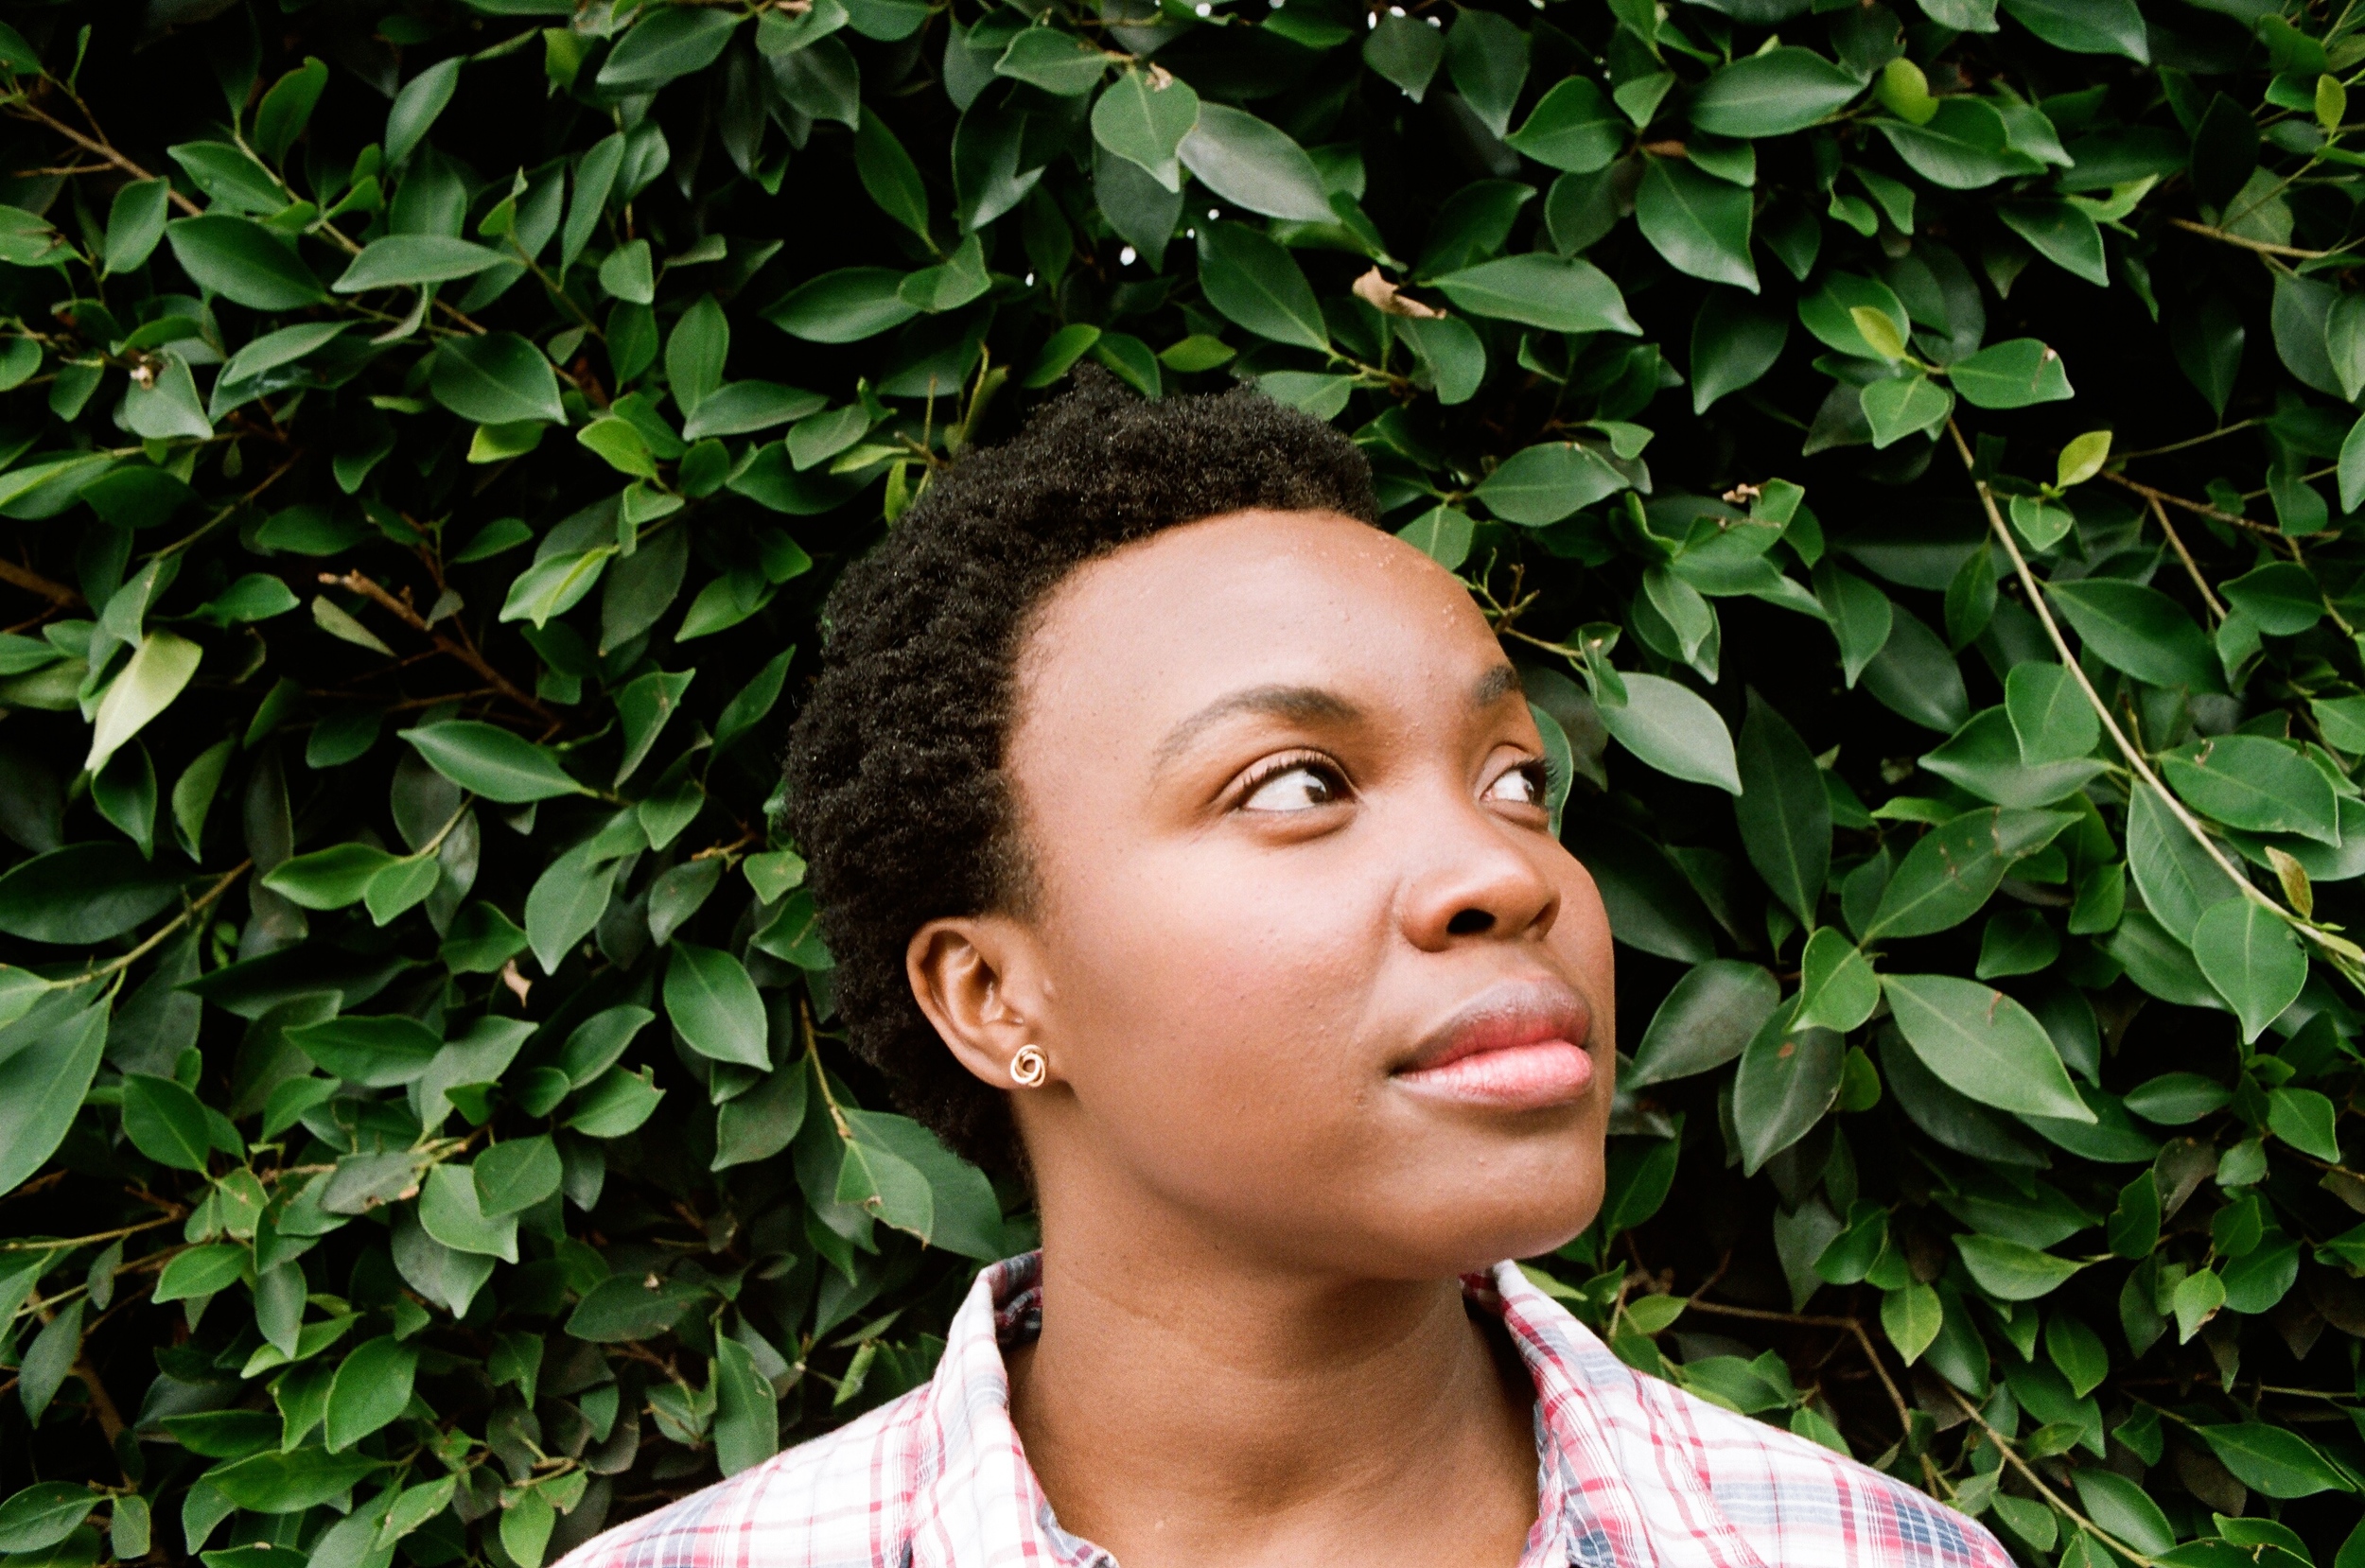
For eyes, for natural beauty and on camera, you don't really want any harsh, 'crisp' or defined lines, unless it's an intentional move for the character's personality they're portraying. Otherwise, stay away from harsh lines because it will only age the girl and distract people who are looking at the photos. There are no perfect, defined lines in nature on the face, so you don't really want to go there with makeup either. The best thing to do is to blend, smudge and create shadows in the upper part of the crease, while highlighting the inner eye and bringing radiance to the center of the lid. This makes you look awake, rested and brings focus to the eyes without being distracting. It also helps to bring attention to the eyes on camera because sometimes in the translation to photos/video, the eyes can get a bit lost and small. For every girl, I used the It's Judy Time palette (she's a beauty YouTuber; if you're interested in makeup reviews, you'll quickly become addicted to her channel). The color payoff is amazing and the range of shades is really beautiful. For the tear duct area, you really want to create light there, so use a shade 1-2 shades lighter than the natural skin tone. For all the girls I used a light shimmery bronze shade, but for fairer skin tones I would recommend something like Albatross from Nars. On the lid I used the shimmery brown shade to highlight the lid and bring some light there as well without being too light. In the crease, I blended a combination of that brown shade and the shimmery plum shade into the crease. Plum shades look amazing on brown and green eyes, and really looks amazing on darker skin tones. You want to blend the crease shade a bit above the socket and outward slightly to give an elongated look to the eye. I finished off the eyes with either a bit of the deep matte plum shade on an angled brush as a soft, subtle 'liner', or simply mascara (I used my current favorite: Tarte's Lights, Camera, Lashes). Some of the girls got 3 short individual false lashes in the outer corners of the eyes. Avoid a full strip of lashes for a natural look!
BROWS, BLUSH, HIGHLIGHT & CONTOUR
For brows in a natural look, you want to be as soft and light-handed as possible, otherwise you risk the drawn-on and aging effect of sharp brows. I used some of the darker matte powders from the NYX Nude on Nude palette on an angled brush to fill in any sparse areas and then combed the brows up and out with a spoolie brush for a youthful look.
For contour, blush and highlight, I used the same palette: Sephora's The Beauty of Giving Back Face Palette. For cheeks I really focused on the upper, outer part of the cheek to create a lifted and youthful effect. I used the deepest coral on all the girls. The peachy color in the palette would look amazing on fair skin tones! I then contoured the cheeks with the darkest bronze shade, really being light-handed and blending well into the hollows of the cheeks and around the temples to create a glowing look with subtly defined bone structure. I then used the lightest bronze shade on the cheek bones, the bridge of the nose and the brow bones, as well as cupid's bow and forehead to bring light to those areas. Blend really well!
LIPS
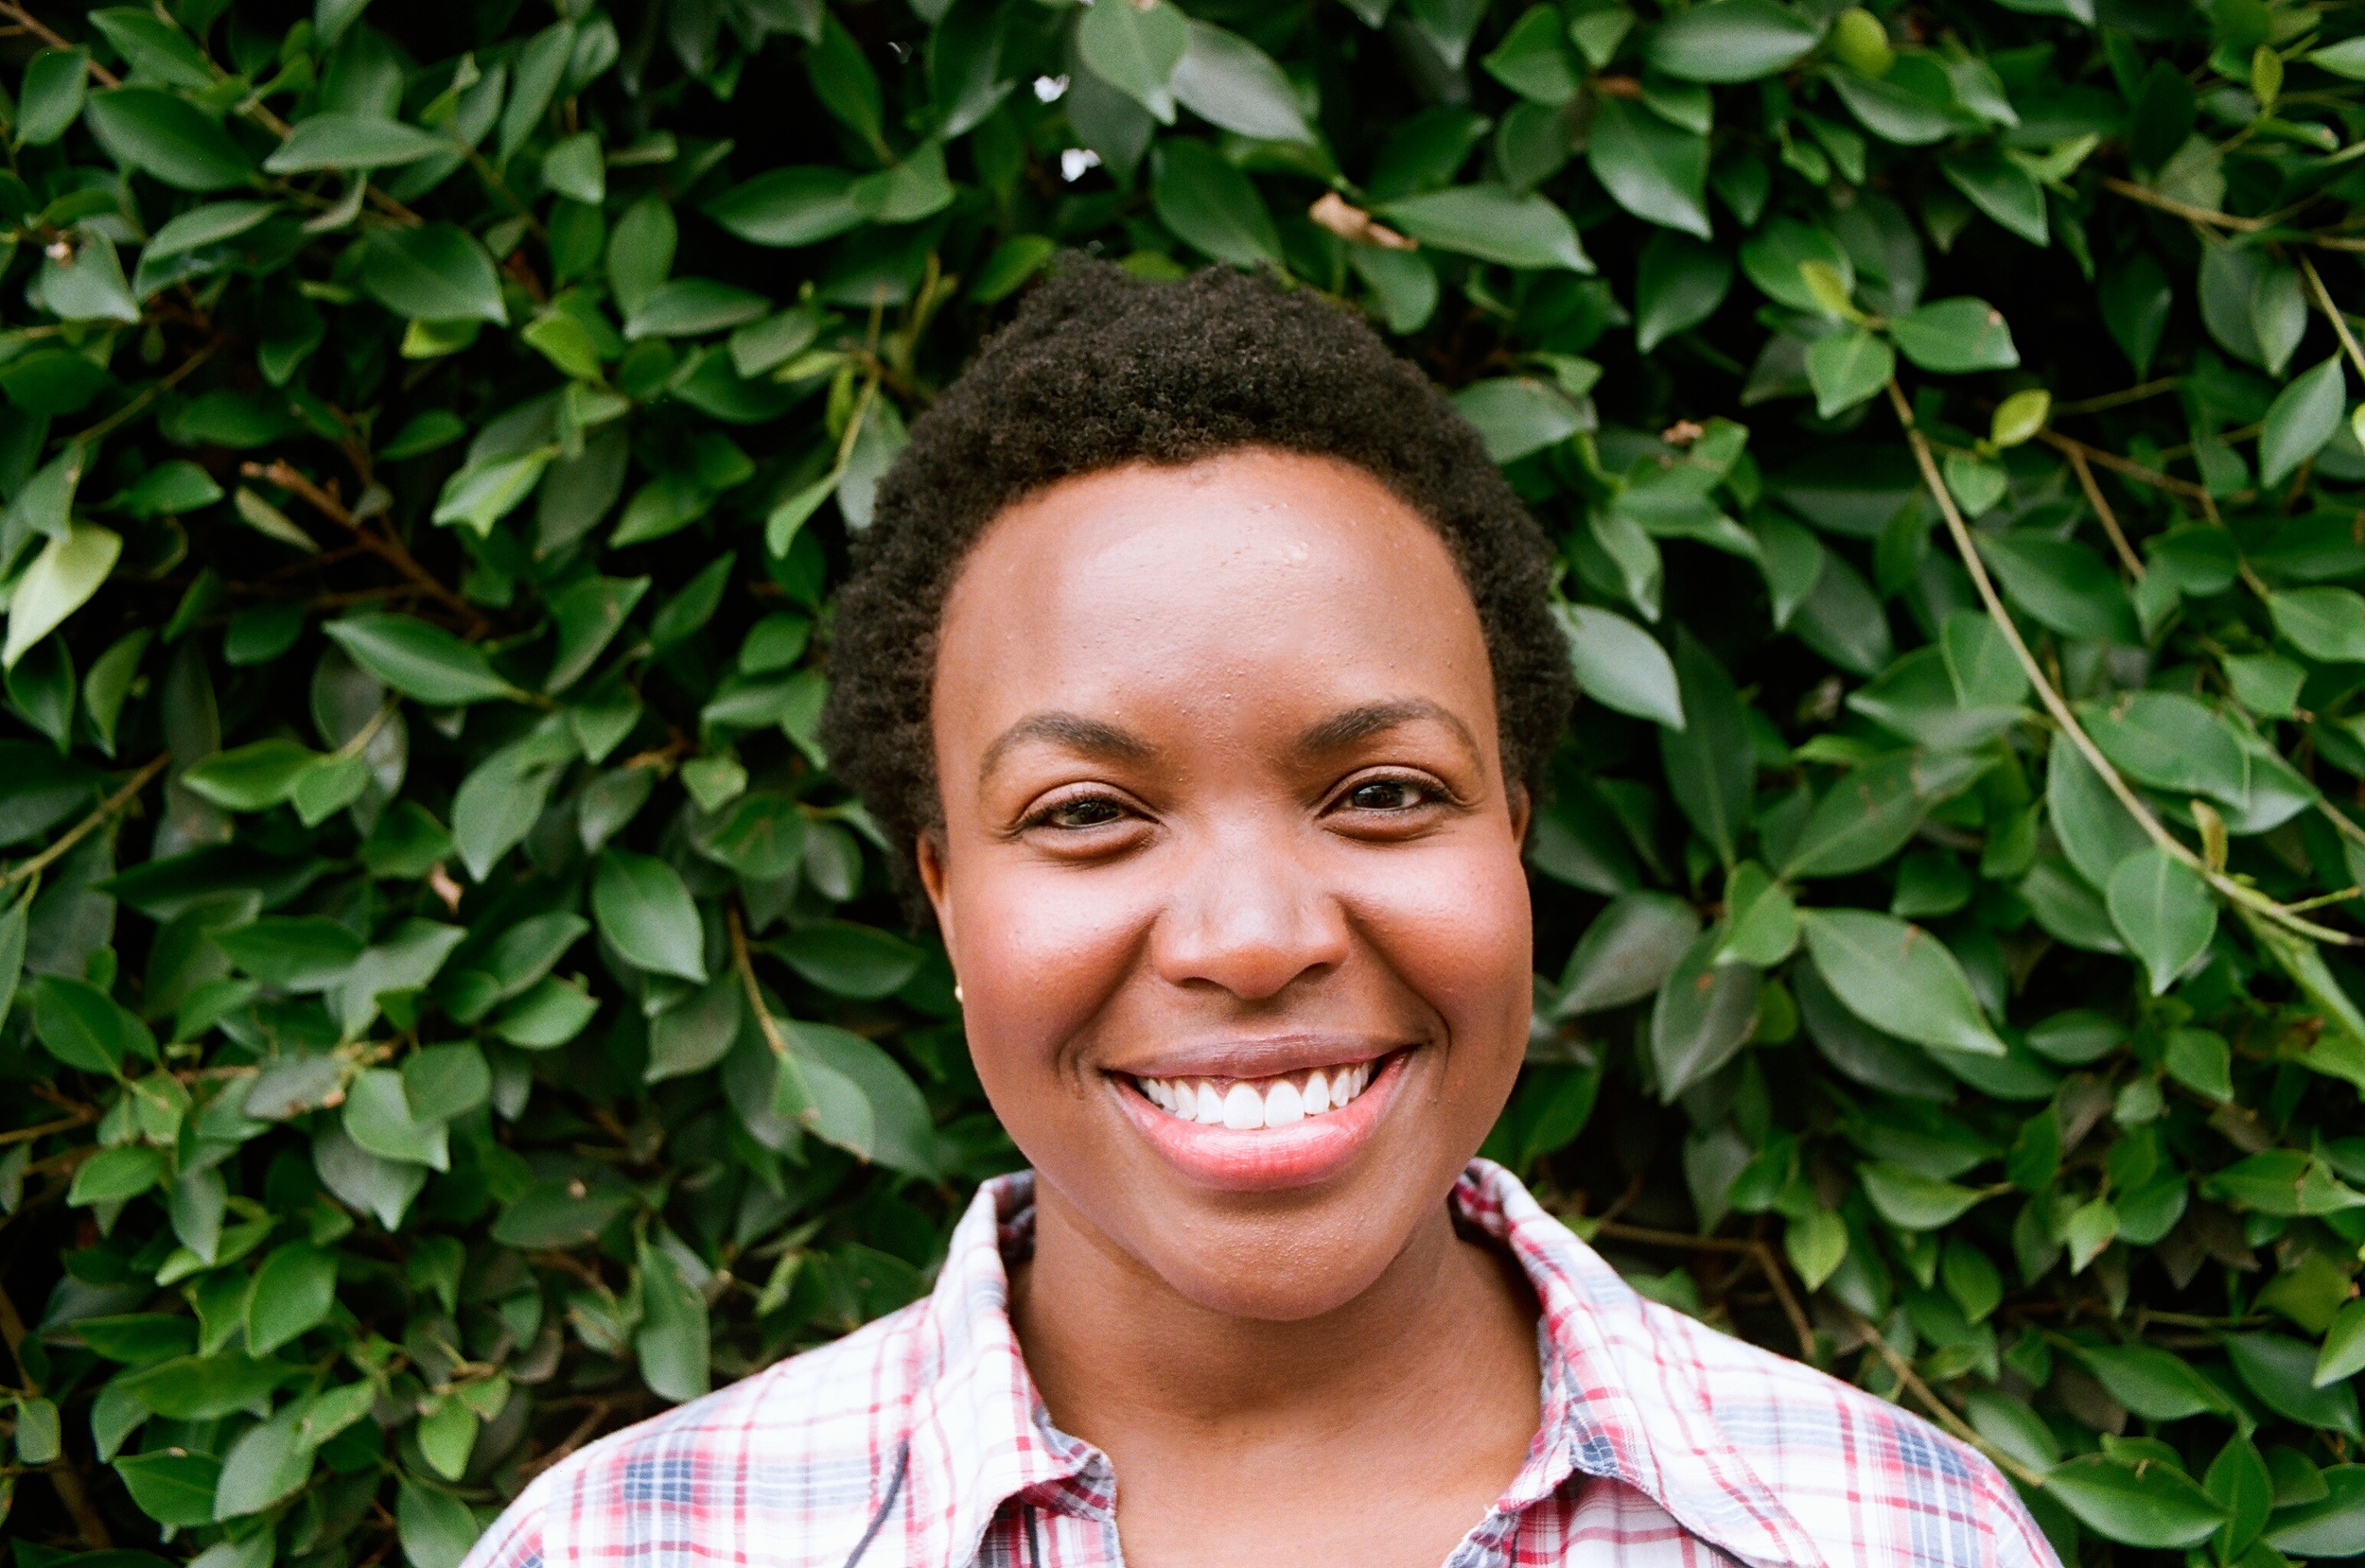
For lips on every girl I used the most universally-flattering color I've ever found, Mac's Lipglass in Lovechild. It really looks amazing on every skin tone out there and brings a dewiness and very subtle shimmer to the lips in the most natural way. For some of the girls, I toned down the color or even prepped their lips with Smith's Rosebud Salve. I then dusted the shoulders and collarbone with the highlight shade to really add a dewiness and radiance to the skin and tie the face in with the body.
I finished the look with a light spritz of Urban Decay's All Nighter to set makeup for the day.
And that's it! I had so much fun doing makeup on these beautiful, friendly, kind, smily girls and I can't wait to see where they go with their careers!